Developer
Register an App
Walks through creating and configuring a new app from the My Apps page, including adding API or OAuth functionality to it.
Accessing App Registration Page
When you log into a developer account, you'll be taken straight to the App Registration page. If you're on a PagerDuty customer account, follow these steps:
Note: App Registration is available only to users with a base role of Manager, Global Admin or Account Owner.
- Log in to your PagerDuty account.
- From the top menu, select Integrations.
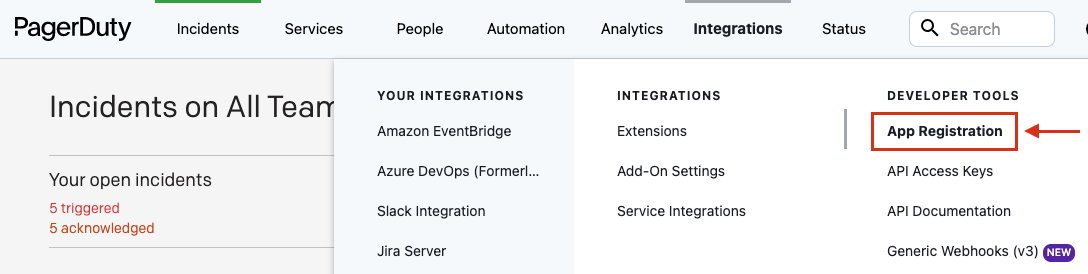
- Select Developer Tools, then App Registration from the menu to navigate to the My Apps page.
Creating an app
Note
Apps are associated with a PagerDuty subdomain and a user and cannot be moved between subdomains or users. Continued access to this subdomain and user is needed to make any configuration changes to the app.
On the My Apps page, select New App. Enter a name for your app and a brief description, and complete the rest of the New App wizard as necessary.
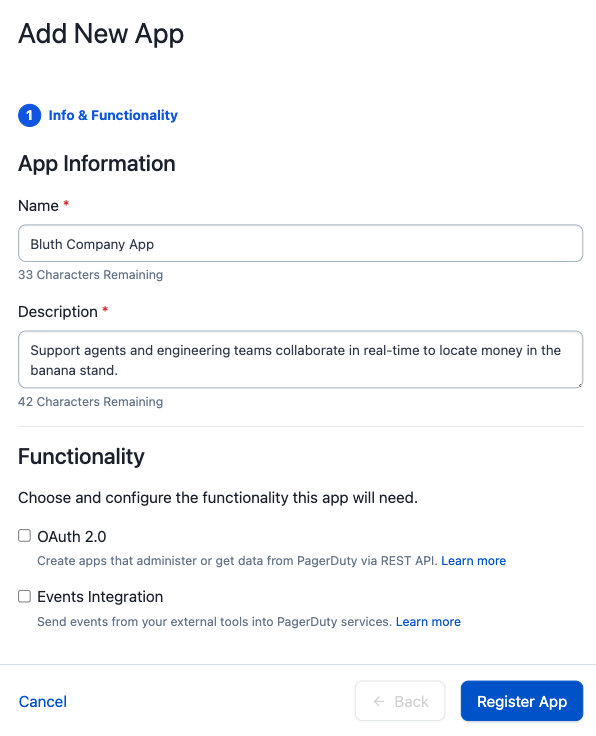
The new app will now appear under My Apps in the App Registration page.
Editing your app configuration
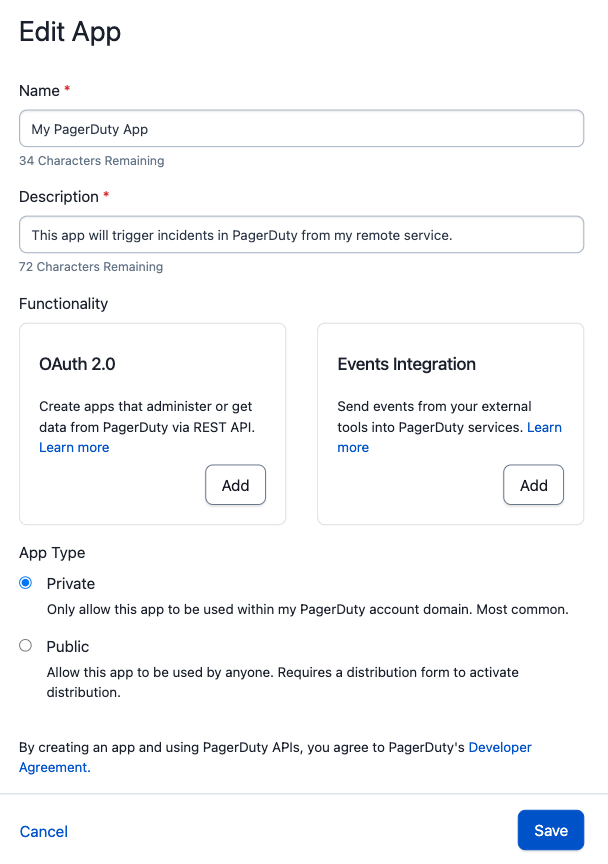
By selecting an app from the My Apps page, you will be directed to the Edit App page. From this page you can:
- Edit the app name and description.
- Add API and/or OAuth functionality, as described below.
- Change your App Type to distribute/publish your app and share with all PagerDuty customers.
Adding functionality to your app
A newly registered app does not do anything on its own. Add functionality to make it useful — see App Functionality for what is available and which option fits your needs.
- Go to the configuration page for your app. See Editing your app configuration above.
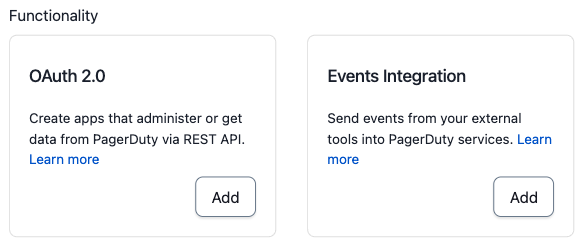
- Scroll down to the Functionality section of the page and click the Add button on the card which represents the functionality you would like to add.
- On the next page, you'll be asked for more information to configure that app functionality.
- Click Save to save the configuration and add that functionality to your app.
- Click the Manage button to make edits or remove functionality from an app.
Adding Events Integration functionality
In the Functionality section, click Add next to Events Integration. Then click Save on the Events Integration config page.
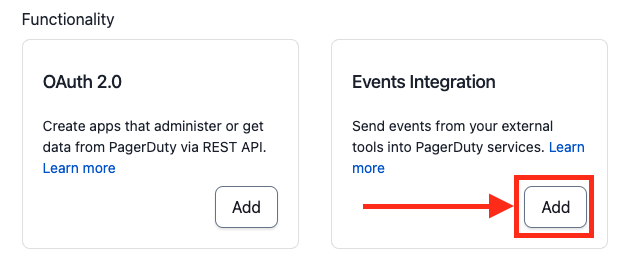
From there you can set up the Simple Install Flow and add an Event Transformer.
Adding OAuth functionality
In the Functionality section, click Add on the OAuth card, then choose between Classic User OAuth and Scoped OAuth on the Configure OAuth 2.0 screen. See OAuth Functionality for the difference between them, and Private Apps if your app will only be used on your own account.
Removing functionality from your app
Warning
This action cannot be undone. Be sure that app functionality is not needed before you remove it.
- Go to your app's configuration page. See Editing your app configuration above.
- Scroll down to the Functionality section of the page and click the Manage button on the card which represents the functionality you would like to remove.
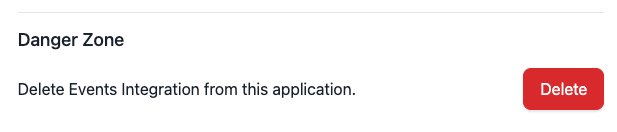
- To remove Events Integration Functionality scroll to the Danger Zone at the bottom of the page and click Delete
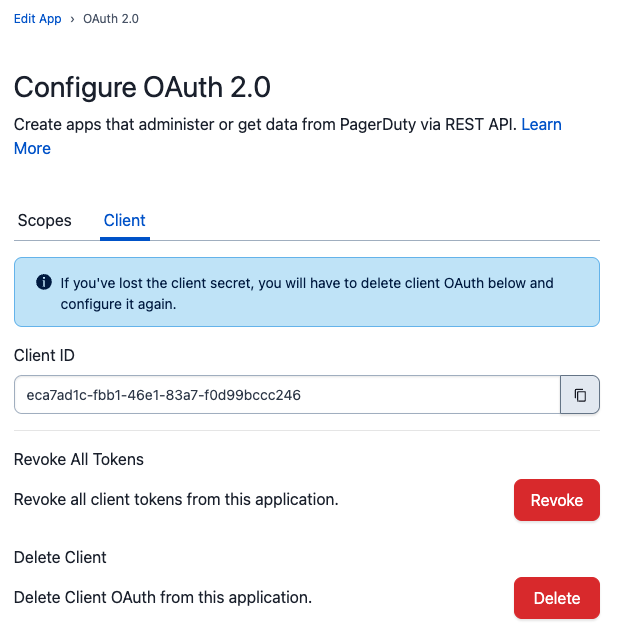
 To remove OAuth functionality, navigate to the Client tab and click Delete.
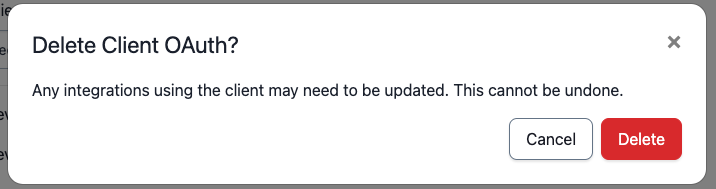
- Confirm that you would like to remove app functionality
Note
Deleting OAuth functionality does not automatically revoke existing tokens. If you wish to perform both operations, you must revoke all tokens before deleting the OAuth functionality.